Raspberry Pi, Python and cats: my first foray into embedded development
I love shitty robots. And I love Python, and cats. I never thought I’d be a cat mom myself, but in March 2022 we started hosting a family from Ukraine who brought with them their adorable cat boy Rizhik and we ended up adopting him. And here we are, with two additional fluffy Siberian kittens, Baikal and Tunguska, that we’ll adopt soon to keep him company.
The other day, I was in need of a hobby project – preferably “recreational programming” and different from what I normally do in my day-to-day work. What if I could make it easier for my remote friends and colleagues to get in on the fun of petting our fluffy boy? Build a remotely controlled robot to do the brushy brushy? I’ve always wanted to get more into embedded development and programming a Raspberry Pi, to get inspired and to see what’s possible these days. So I decided to build a shitty cat petting robot.

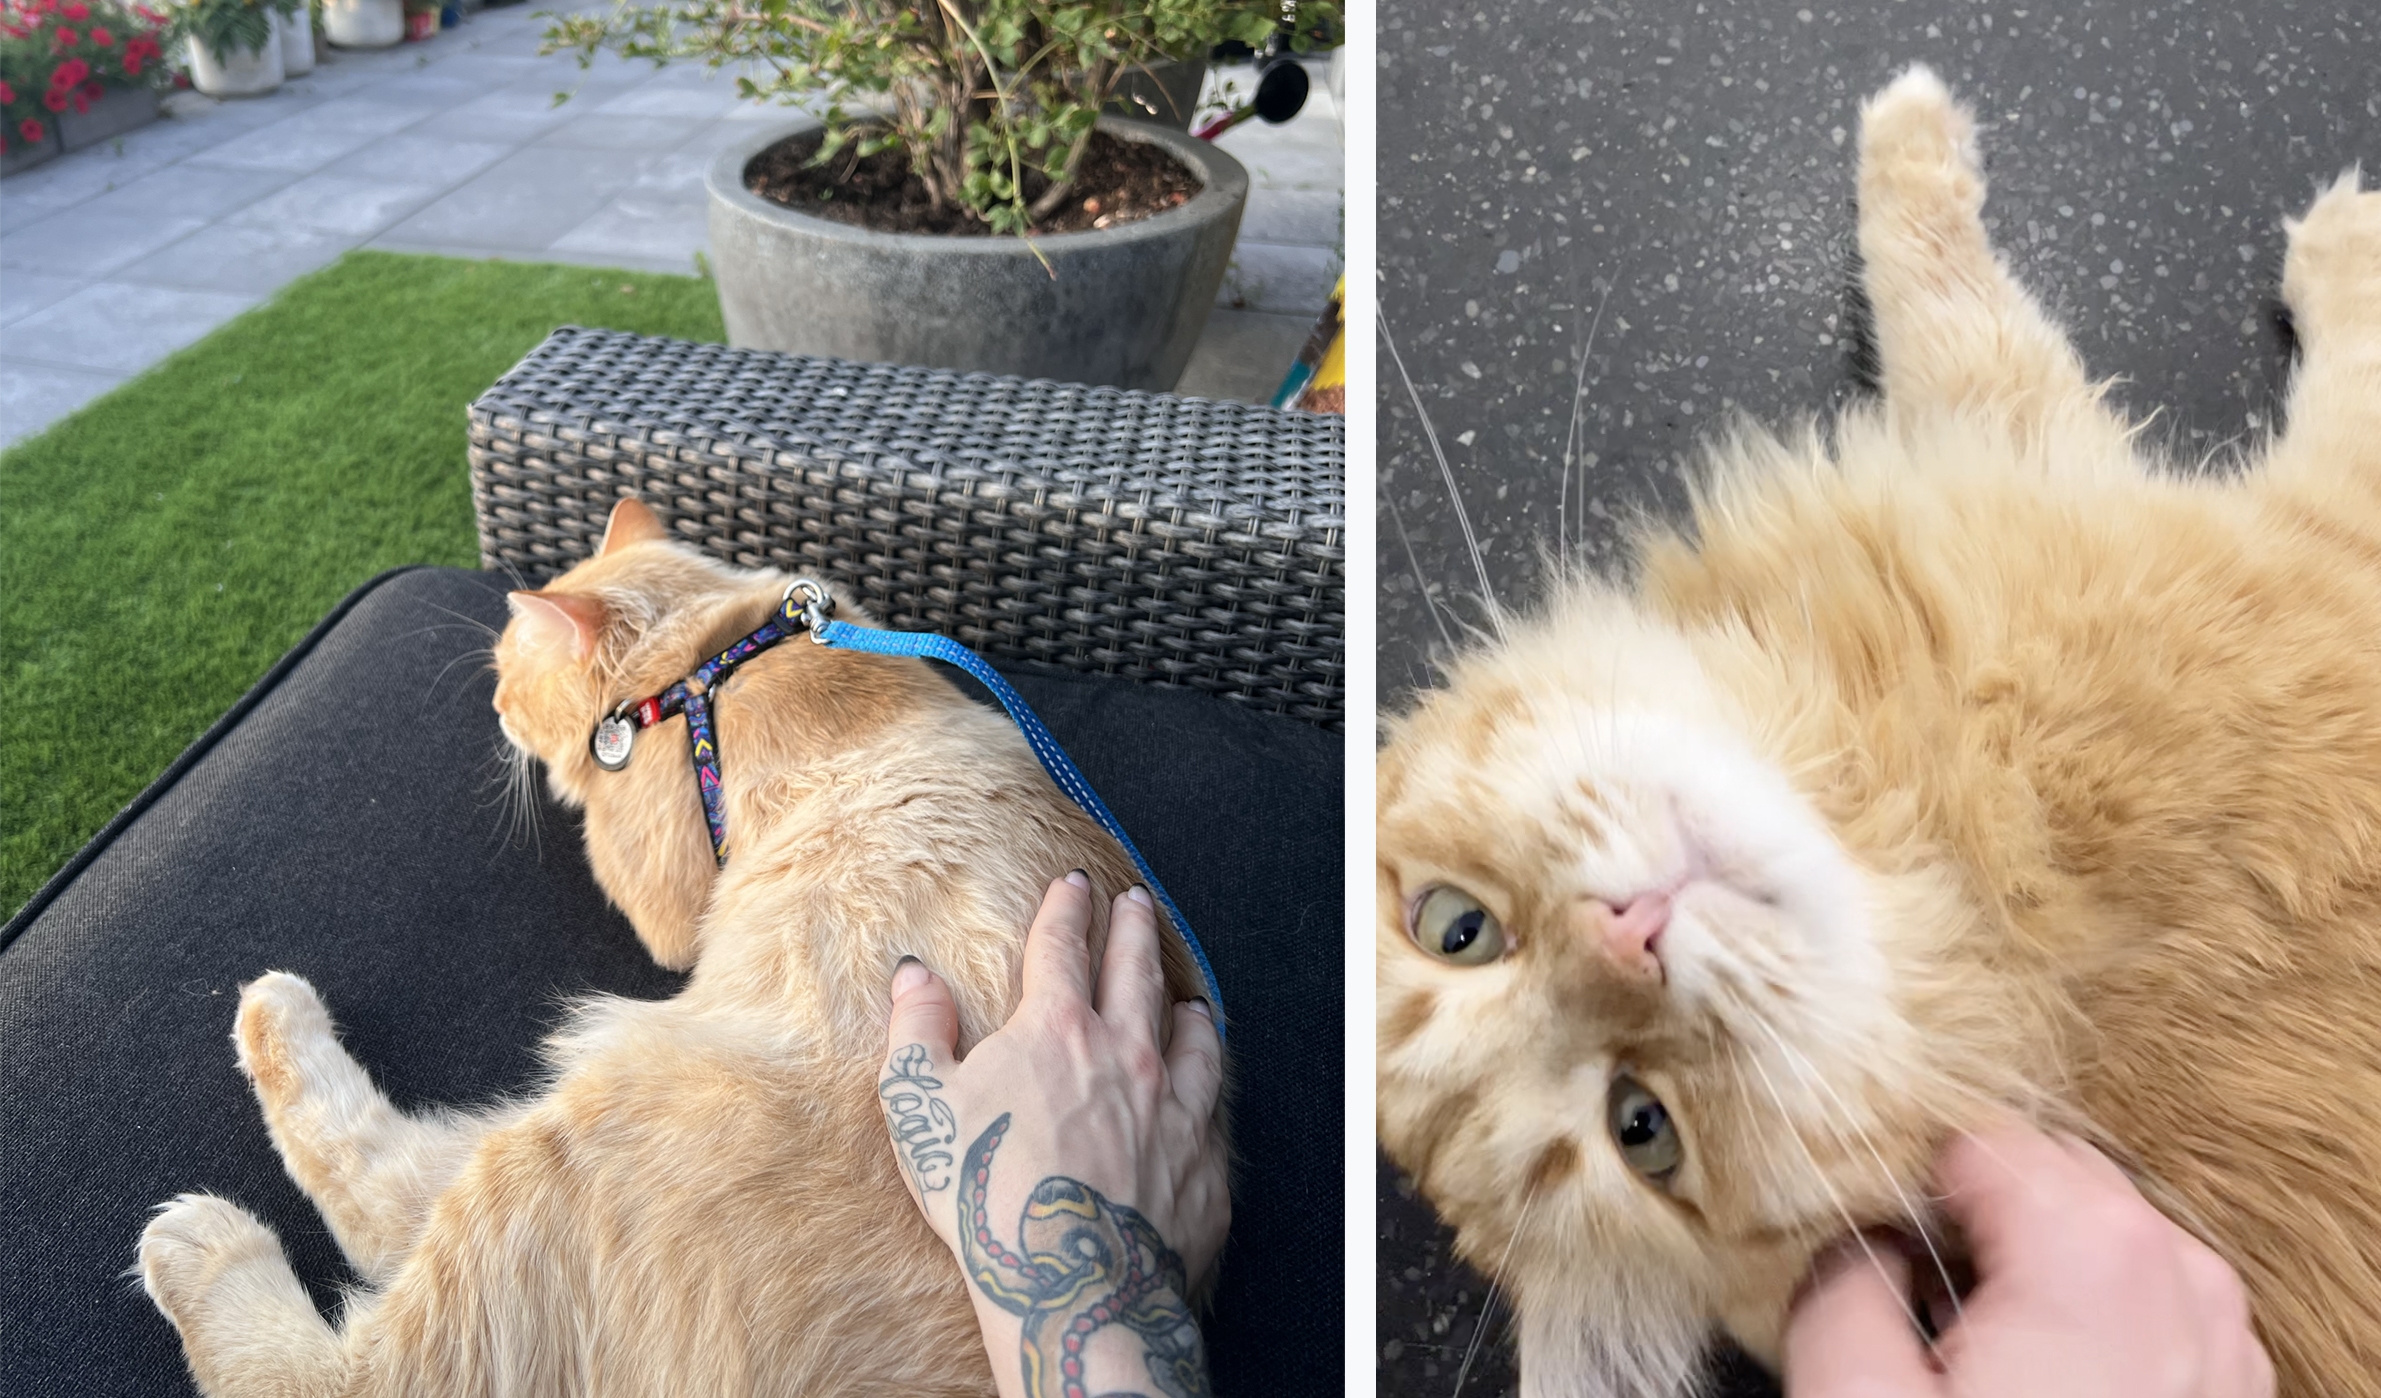
Rizhik with my tattoo of him, and little siblings Tunguska and Baikal
Picking the hardware
This was my first embedded development project so I started off as a complete noob. Enter my brother, Julian. When we were kids, I was more into language, writing and liberal arts-y stuff, so being the younger sibling, he picked a niche for himself that I had nothing to do with: he became an event technician. Over the pandemic, he taught himself programming, too, and has been building cool automations for Raspberry Pi ever since. So he seemed like the perfect person to ask for advice.
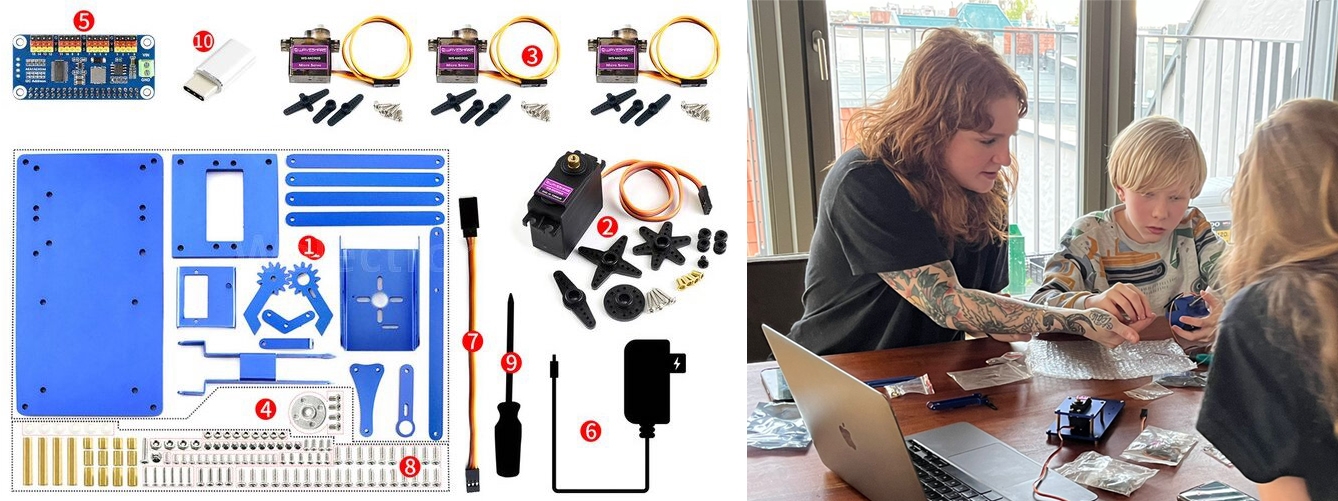
What I needed for my project felt pretty straightforward: a mechanical arm that’s only able to move horizontally in a straight line, and tilt slightly upwards for the reset. After all, you only pet a cat in the direction of the fur, not backwards. And some way to talk to it over the internet. That must exist, right? Well, it doesn’t really. Julian’s advice: get set up with 3D modelling software, design the arm, get someone to print the parts, assemble it all and trial and error until it works. Or, buy a robot arm kit that does slightly more than I need. I chose the latter and ended up ordering a Raspberry Pi 3 and the Waveshare 16376 Robot Arm kit.

Translation: “Something like this? Woah, so you have to assemble this yourself 😱” – “Haha yeah, what did you expect?”
Setting up the Raspberry Pi
Two days later, the hardware arrived. I couldn’t wait, so the first thing I tried was connecting to the Raspberry Pi in headless mode, i.e. without a display, keyboard or anything else. After some trial and error and going through various tutorials, I finally found the solution I should have gone with all along: the Raspberry Pi Imager app for Mac. It creates a bootable MicroSD and takes care of setting a custom host name, enabling SSH and even connecting to wifi automatically so you can connect to the Raspberry Pi from your computer.
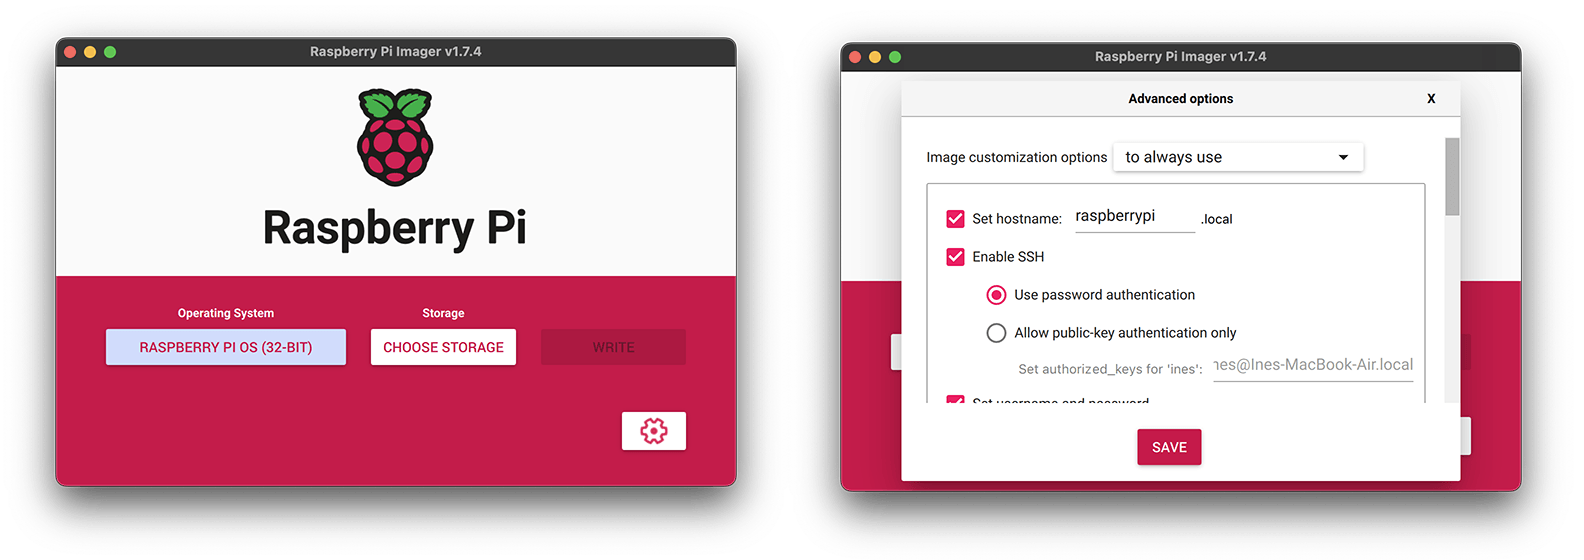
After rebooting my Raspberry Pi, I was finally able to do the following on my Mac and set up Visual Studio Code for remote development via SSH.
ssh ines@raspberrypi.local
ines@raspberrypi:~ $
Assembly
This was the part I was most worried about, so I enlisted the help of our 11-year-old Ukrainian guest Yelysei, fellow cat lover and aspiring programmer (he’s pretty good at Scratch already) and his 14-year-old sister Emilia, who’s better than me at a lot of things, including making her own clothes and rolling sushi. Over the next couple of hours we actually managed to put it all together, and the only re-adjustments needed were matching up the positions of the little servos to allow the arm to rotate at the correct angles.
Building the front-end
I love front-end and the cat petting UI was the part of the project that was easiest to imagine: a hand that follows your cursor and tracks the start and end position of the cursor as you drag across the screen. I only wanted to allow horizontal petting in one direction, so all the app needed to track is the clientX. Assuming the browser width corresponds to the full pettable cat surface, the start and end position can be calculated as a percentage relative to the full with. It’s all implemented in vanilla JavaScript and you can view the source on GitHub.

The final app: it allows you to click and drag to pet
Writing the back-end code
The robot arm I chose came with sample Python code, which was very helpful to get started. However, it was also slightly messy and didn’t use type hints or follow the consistent style I normally like to use in my projects. So as a first step, I started to rewrite it. Refactoring, documenting and adding type hints is one of my go-to ways to get across a new code base.
Good editor support is crucial here and I can’t recommend it enough. Visual Studio Code and the Pylance extension do an excellent job at inferring types from existing functions. Once everything is neatly organised and typed, it’s much easier to understand what’s going on, and how data flows through the robot arm driver. To better manage the interactions I needed, I implemented a custom Controller class with the methods reset (reset arm to start position), set (set arm position) and move (move arm from current position).
While the original code sample uses websockets, which adds another layer of complexity, I figured I’d be fine with a simpler REST API powered by FastAPI, Pydantic and Uvicorn. What I really needed was one endpoint to submit the start and end position to:
@app.post("/pet")
def pet(data: Instructions) -> None:
    ctrl.set("rotate", int(45 + data.start * 90))  # rotate to start position
    ctrl.move("y", -40)  # lower arm
    ctrl.move("rotate", int(data.end * 90))  # rotate to end position
    ctrl.move("y", 40) # move arm back up
You can view the full server code on GitHub. The app runs entirely on the Raspberry Pi and can be exposed over the public internet using a service like ngrok so others can operate it from anywhere.
The result
After attaching the brush, part of an old Tangle Teezer, I was finally able to test the result. A true shitty robot, absolutely not fit for purpose and guaranteed to make your cats run away in horror. But it was mine, and I had built and programmed it myself more or less from scratch! It was ridiculous, but incredibly satisfying.
In hindsight, it would have been a better choice to build a remote cat toy with a laser pointer attached and I might repurpose my robot for that in the future. For now, I’ll resort to petting my cats manually.